Physical Address
304 North Cardinal St.
Dorchester Center, MA 02124
Physical Address
304 North Cardinal St.
Dorchester Center, MA 02124

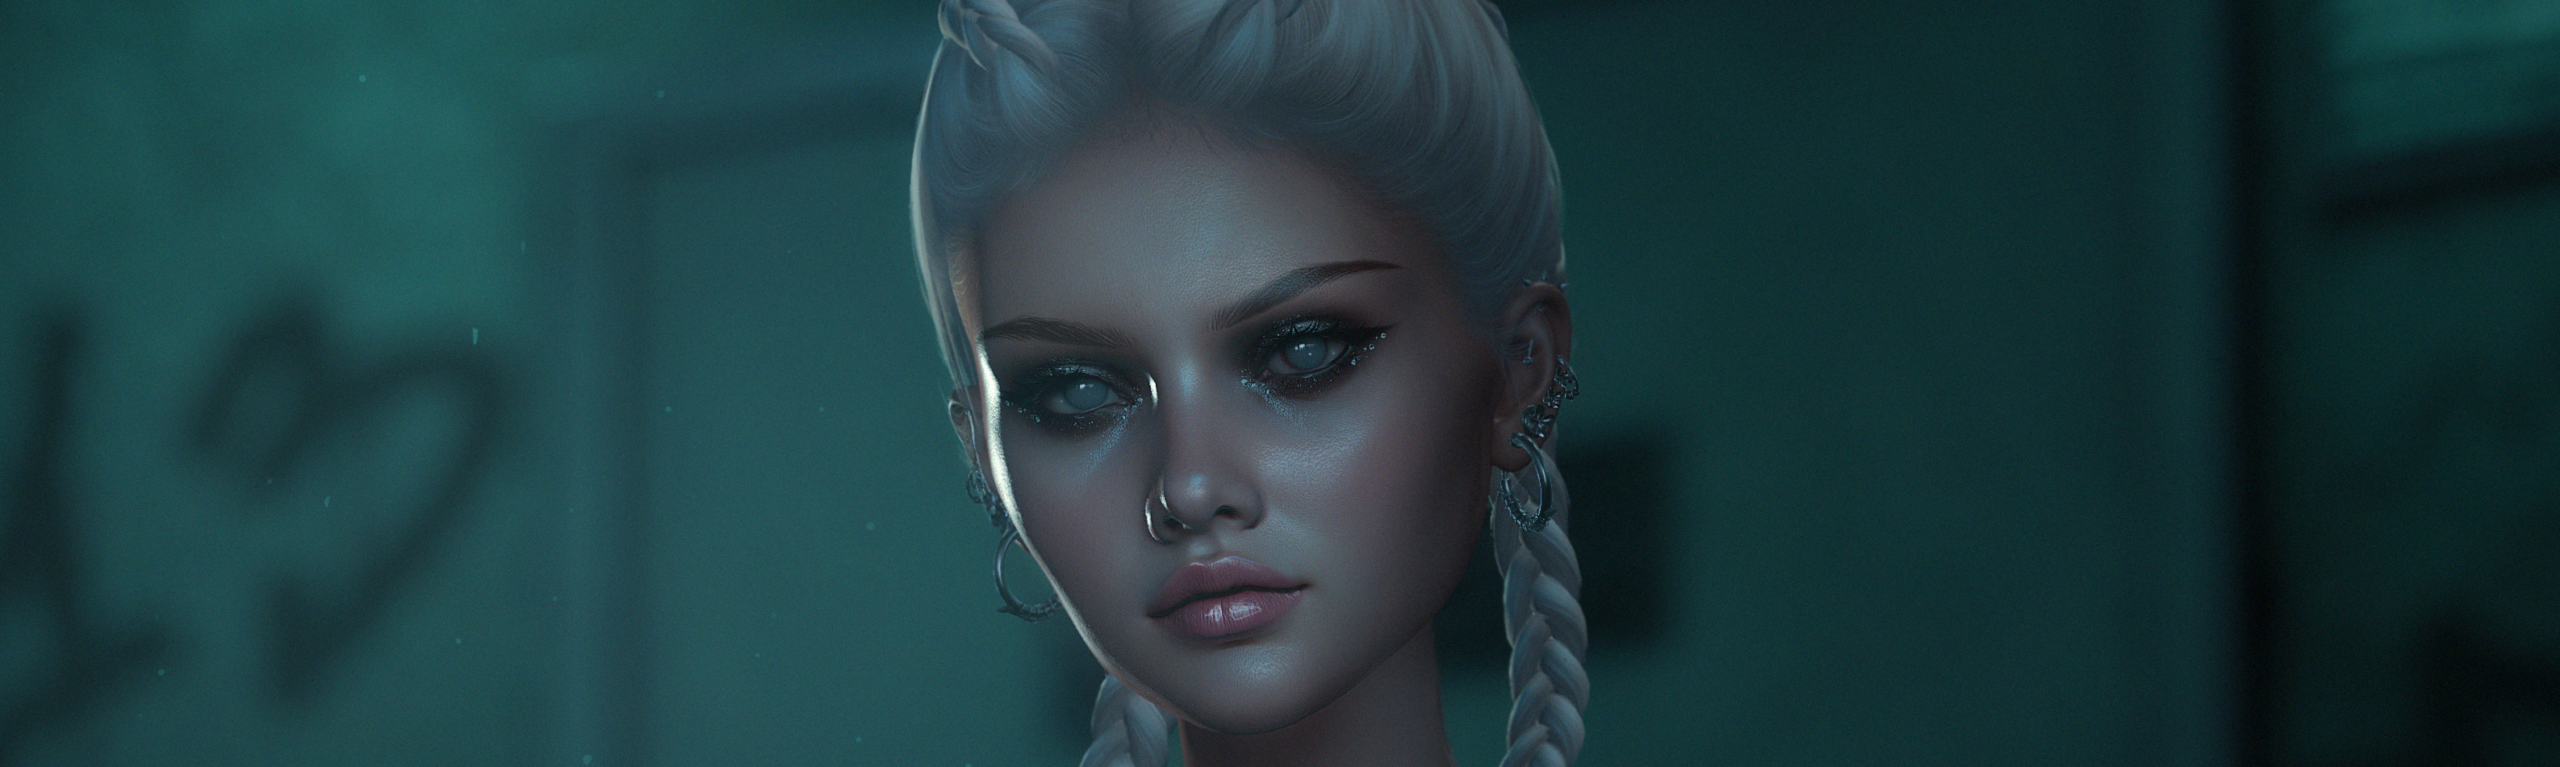
A step-by-step tutorial into the making of my artwork Afterhours using Second Life photography and Photoshop.
This post will be a step-by-step tutorial of how I created my latest artwork “Afterhours” using Second Life photography and Photoshop.
I hope you find the information useful 🖤
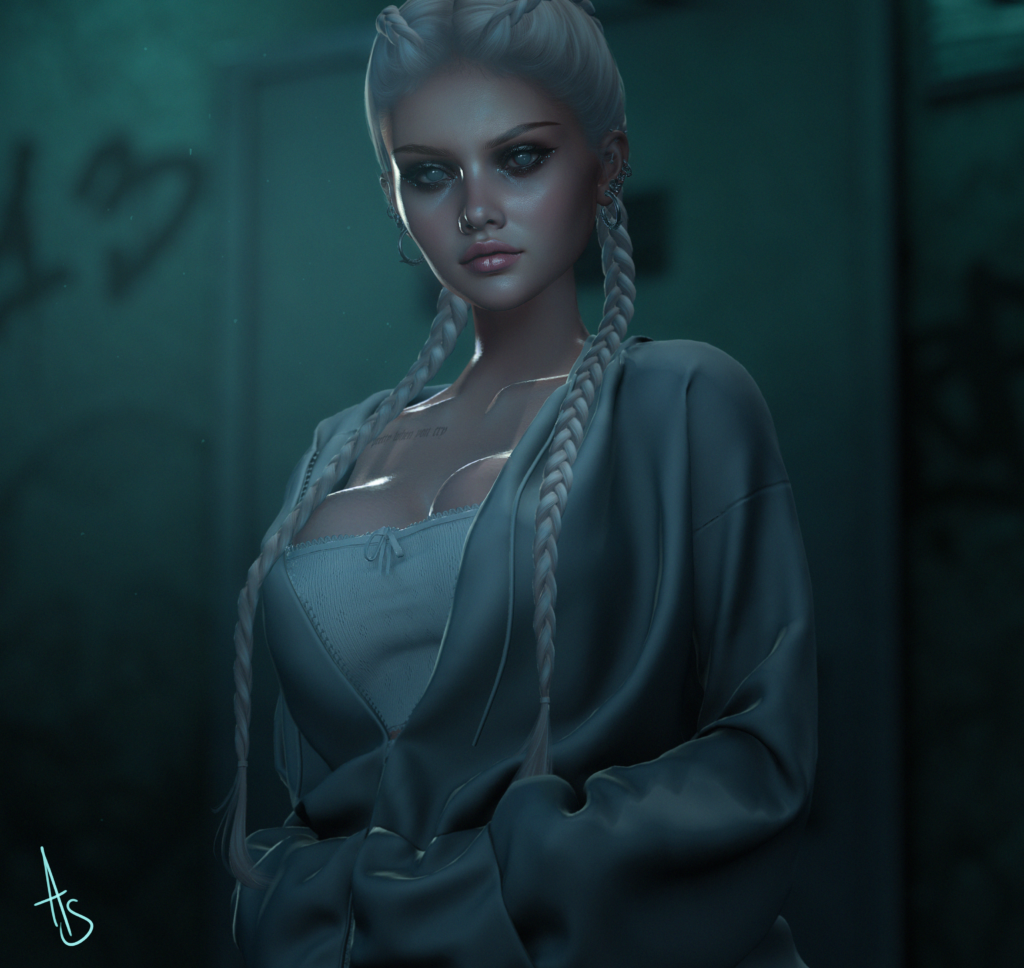
Step 1.
I took the time to stage a photoshoot within Second Life. Adjusting the lighting and environmental factors to fit in with how I wanted the overall look and feel of the final image.
This step probably takes the most time for me out of the whole process, and is something I will cover in a separate tutorial.
I usually opt for a PNG with a resolution over 3000px x 5000px as it allows me to zoom in and work on smaller details in Photoshop.
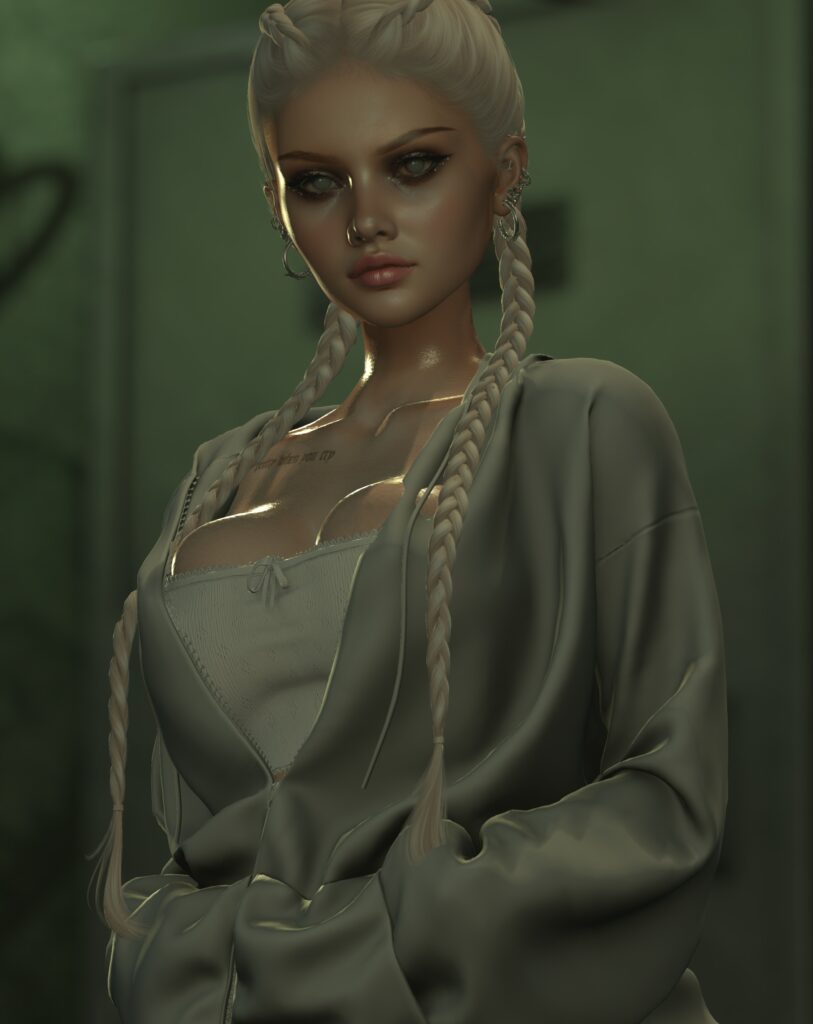
Step 2.
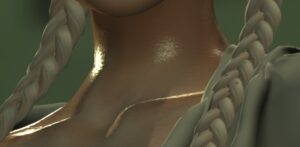
There were several problem areas:-
I was aware the clothing items were not intended for this particular body shape and therefore would most likely have issues. I felt confident, however, that I would be able to fix them in Photoshop.


Step 3.
I always begin with sharpening the whole image to bring out small details. In the areas that become too harsh, I use a small blur brush to soften and correct them.
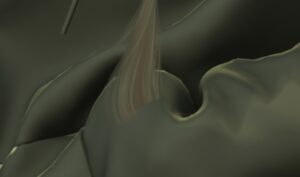
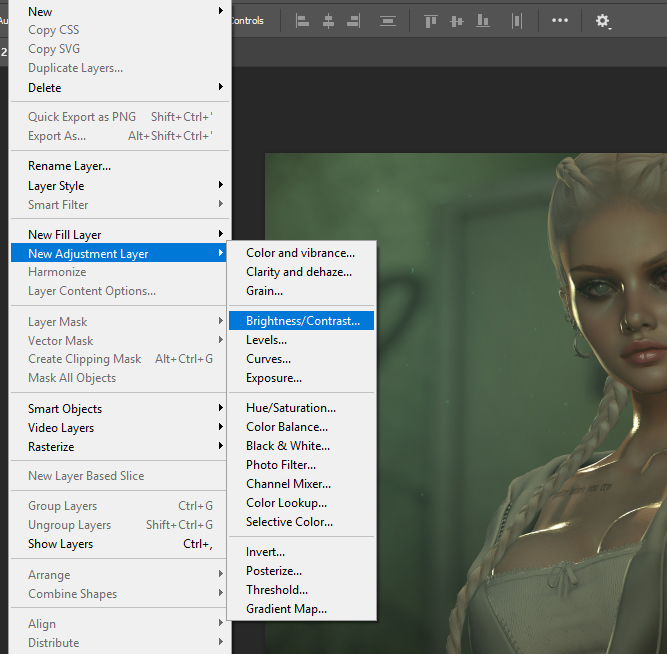
Step 4.
There are many ways within Photoshop to correct the cosmetic problem areas above; however, as these areas are so small, I felt it was quickest just to paint them in this time. For this I used the colour-picker tool and a hard round brush. I also used this time to add and correct some fine details on the face and a few dust particles to the background.
Step 5.
Next, I moved on to adjustment layers. I aimed to reduce the temperature of the shadow while keeping the warm tones of the skin.
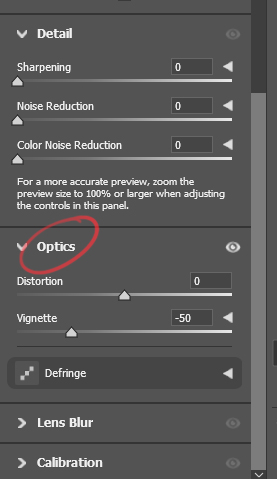
Step 6.
Once I was happy with the balance of the colours throughout the image, I used the Camera Raw Filter. This added a vignette to the edge of the image bringing the focus to where I needed it. Furthermore, I added a noise layer. This helped bring the whole image together and give a more textured look to the skin.
Step 7.
Finally, after checking the image for any imperfections I exported the image from Photoshop in PNG format.
until next time …